Negative Splice
3 19 Share TweetDo you have negatives that are just sitting around collecting dust? Or maybe you have some negatives of photos that just didn’t turn out. Try splicing them together to make a whole new work of art!

I have a lot of negatives hanging around, and I’m not too proud to admit that many of them just didn’t turn out how I intended. So, I thought it would be fun to cut them up and splice them together. Anyone can do this, all you need is some patience!
Splicing will permanently destroy your negative, so make sure you’re OK with this before you start.
What You’ll Need:
- Negatives to cut up
- Cutting utensils (scissors, pinking shear, hole punch, or anything that can cut through negatives)
- Clear tape
- Scanner
How to splice:
1. Choose two negatives to splice together. Think about how you want your end product to look – visual contrast, conceptual contrast, subtle contrast.
2. Stack the negatives face sides up and tape around all sides.
3. Cut however you want! I used a scissor, a pinking shear and a hole punch.
4. Pull apart the two negatives, keeping the pieces organized with each respective negative.
5. Switch out pieces from one negative to another to create the splice.
6. Tape the splice to your scanner (just around the edges) and scan.
Voila, you have spliced negatives!
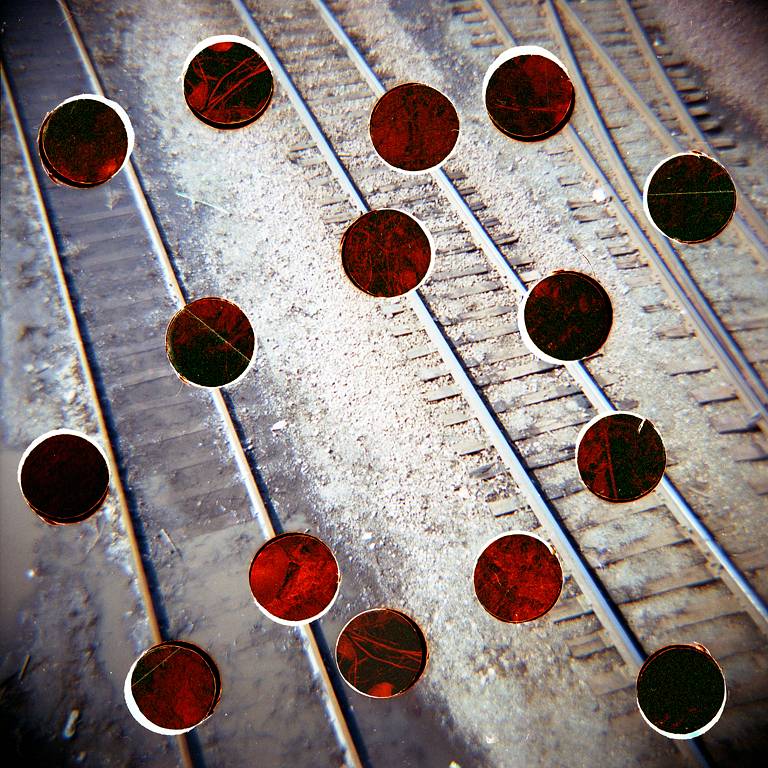


Inevitably, you will have some overlap and gaps in your splice; the overlap is white and the gap is black. I like the overlap because it enhances the handmade quality of the splice.
There are endless ways to splice your negatives, so experiment! Just make sure you don’t accidentally cut yourself (like I did).
written by brendamanthe on 2011-08-21 #gear #tutorials #tipster #handicraft #gupexperiment-negative-splice-lomography100-redscale-dianaf


3 Comments