Modify and Reload Instead of Throwing Away - AGFAPHOTO LEBOX Single Use Camera
9 33 Share TweetA beautiful vignette and multiple exposurse from a camera that costs EUR5? Is it possible? Well, now it is. Read this easy tutorial and see the samples!
DISCLAMER: This camera contains an electronic flash circuit, that may have the voltage and energy stored to shake you or even potentially kill you! The reader must accept all responsibility from his actions with a high voltage circuit. A safety feature has been suggested in the text below, but you are not advised to proceed unless you know what you are doing.
This tipster adds two new features to an already used AGFAPHOTO LeBox Single use camera with flash: vignettes and multiple exposures. Both are unrelated and can live happily ever after either on their own, or together. You will also see how to reload the camera, which is again unrelated to either the vignette or multiple exposure modification and can be performed on its own.
This is the camera that the tipster has been written for:
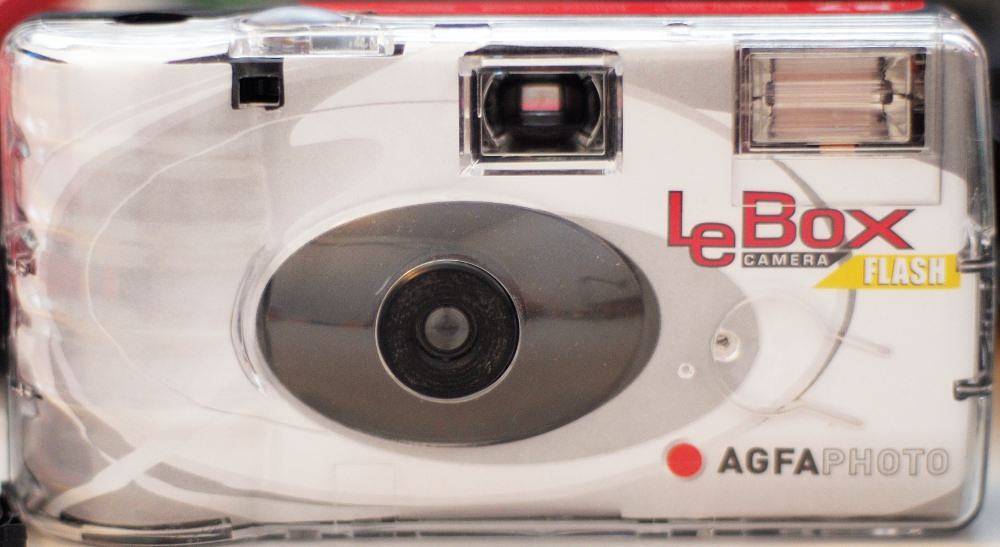
The tipster can not be guaranteed to work with other cameras, but you’re welcome to experiment.
The tools used:

- Insulated electrician’s pliers;
- A small Philips screwdriver;
- Scissors;
- A drill bit for metal – size 4mm or 5mm;
- Glue, suitable for PS plastic;
- A black cocktail straw;
- A small flat screwdriver 1.5mm wide and with at least 22 mm long blade;
- A small round file (not pictured above);
- A roll of fresh film, 100ASA or 200ASA; 400ASA can also be used, but bright sun will overexpose it badly;
- An electric or manual screwdriver with a large flat head for winding fresh film;
- A replacement AA battery if the original one has died.
We start by opening the camera and removing the battery:

Press with the small flat screwdriver:

WARNING: Opening the front cover exposes the flash circuit, that can still have lethal voltage. Do not touch the circuit or any metal bars/cables.
You have to make sure no voltage is present. For the purpose, lock the shutter via the toothed wheel in the back and fire it by pressing the shutter release button. Just for the peace of mind, locate the main capacitor’s leads (black cylinder) and shorten them with the insulated electrician’s pliers, by holding the later by the insulated handles and keeping your other arm in the pocket:

Adding the vignette
The vignette requires detaching the lens from the internal mechanisms, drilling a larger hole and attaching a small cylindrical shade internally. We start by removing the lens assembly:

Then drill gently the aperture with the drill bit:

The source of the vignette is a small shade that will sit internally in the newly drilled aperture opening. It is cut from an ordinary black cocktail straw:

If the inside is glossy, then file it gently with the small round file:
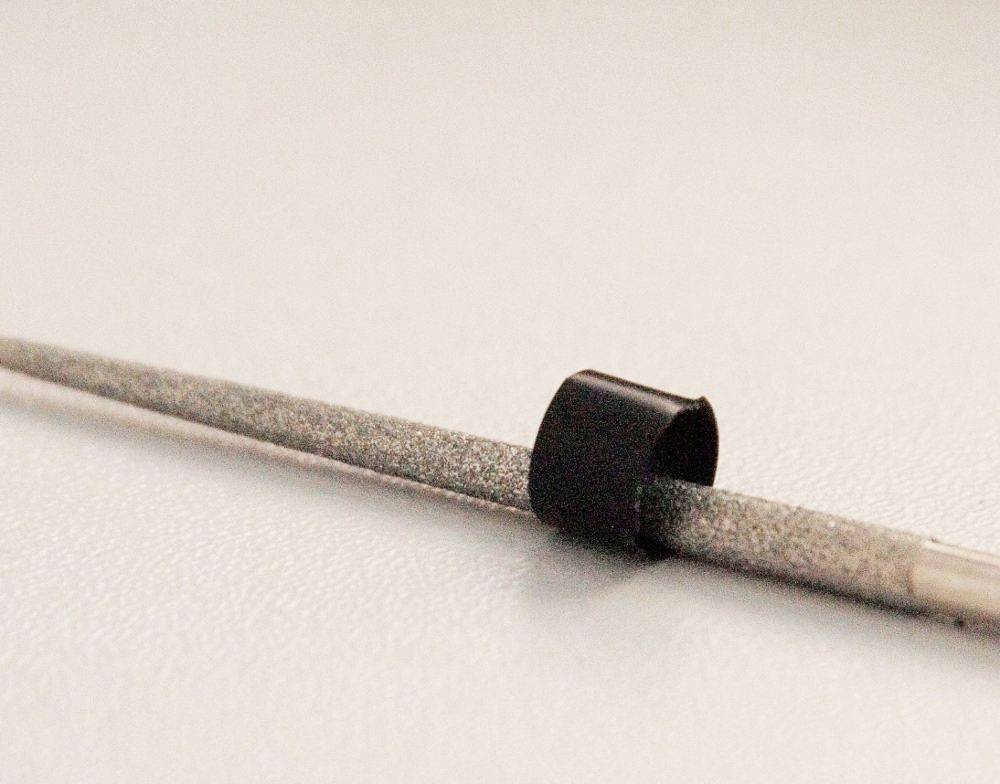
Cut the shade:

and place it behind the lens, in the new aperture opening (the lens elements will have to be assembled first):

Now, assemble the lens plate to the camera and make sure the shutter fires correctly. For the purpose, cock it with the toothed wheel on the back, and looking towards a bright light, fire away. You must see a short flash of light when the shutter is opening. If it doesn’t, see if the spring is attached properly to the leaf, and if the newly attached shade is interfering with its operation. Use the small screwdriver to attach the spring properly, or make a new smaller shade if that’s the problem.
Make sure the shutter is working properly after the modification. If it doesn’t your film will be wasted…
Adding multiple exposure
MX (multiple exposure) is seemingly impossible on that camera, since film motion (transferred by the toothed wheel) is what cocks the shutter. Well, not exactly, we are going to cock the shutter without moving our film, by pushing a lever, that is hidden inside the camera. To do so, we shall drill a small hole in the camera body, and engage the lever in question with the small flat screwdriver:

Make sure the new hole does not fog the film. It must be a few mm above that line:

The lever that we are going to activate is directly connected to a spring. In order to avoid detaching the spring from the lever when pushing, we shall heat-seal the spring-lever connection:

Our Multiple exposure is now ready. We shall engage it whenever we decide by pushing with the small flat screwdriver. It must not be thicker than about 1.5mm in order for the MX to work. Obviously the screwdriver will have to be available at the time of shooting.

Reloading the camera
This part is unrelated to the modifications above, and can be performed without removing the front cover and exposing yourself to the flash circuit.
To reload, we need the film edge to be gently trimmed:

Set the counter to 9 or 11:

Attach the film to the internal roller:

Then place a battery and close:


By gently pressing the lever at the front of the camera, make sure the wind wheel rotates freely:

Here comes the tricky part: You need to continue pressing, while rotating the spool counter-clockwise. I used an electric screwdriver, but an ordinary one will work too:

If it doesn’t reach to an end, probably the film is detached from the spool. Open in a completely dark room and check.
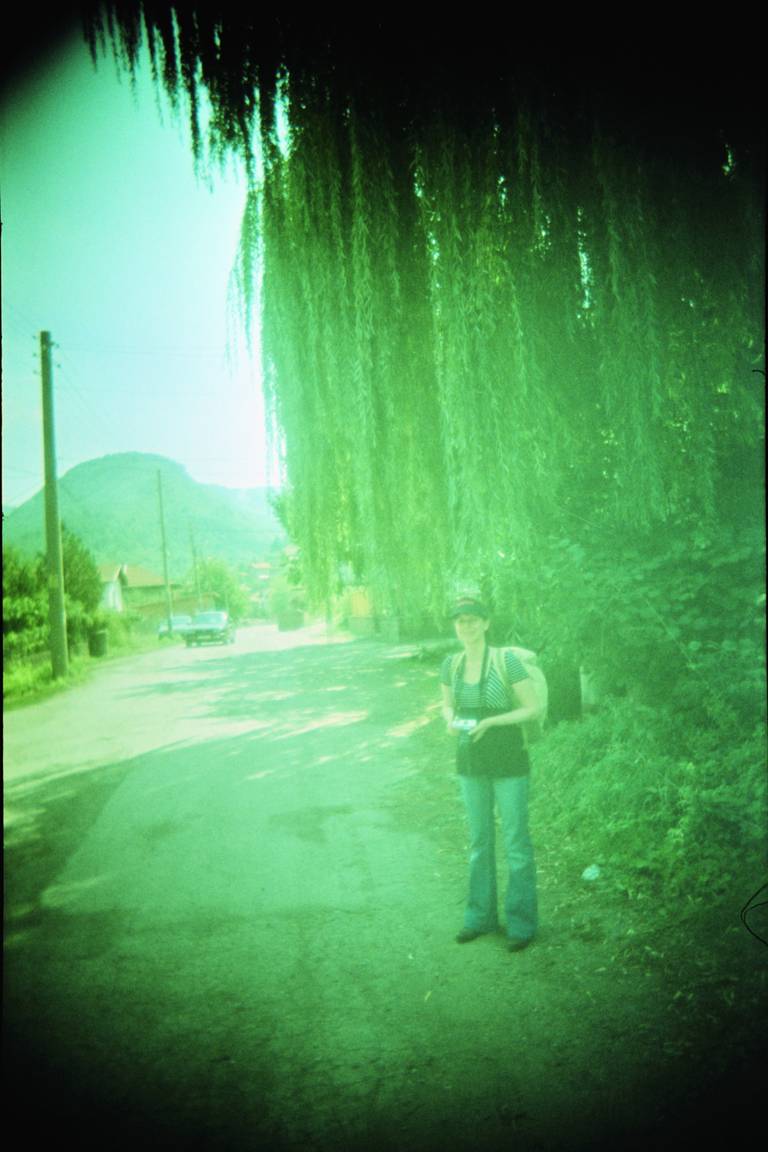
So, are you ready to snap that beautiful vignette away?


The compact size is just fine for those long hiking sessions (but the added complexity of the multiple exposure is not):


written by adash on 2012-08-29 #gear #tutorials #single-use #vignette #camera #mx #tipster #disposable #modification #double #doubles #double-exposure #reload #single-use-camera #camera-modification #reloading


9 Comments