Monochrome Madness: How to Retouch Your Photographic Prints on Coated Paper
2 9 Share TweetThe resin coated paper is very difficult to retouch with traditional products such as china ink or the tip of a pencil. But you have here a simple tip on how to get an almost invisible retouch.
Often microscopic lint and dust particles leave some anti-aesthetic white marks on your prints, especially if you have used a condensed light enlarger. And the resin coated (RC) paper has a layer of plastic material, so some traditional products such as china ink or trace of a pencil are not able to penetrate into the emulsion in order to ensure a good retouch.
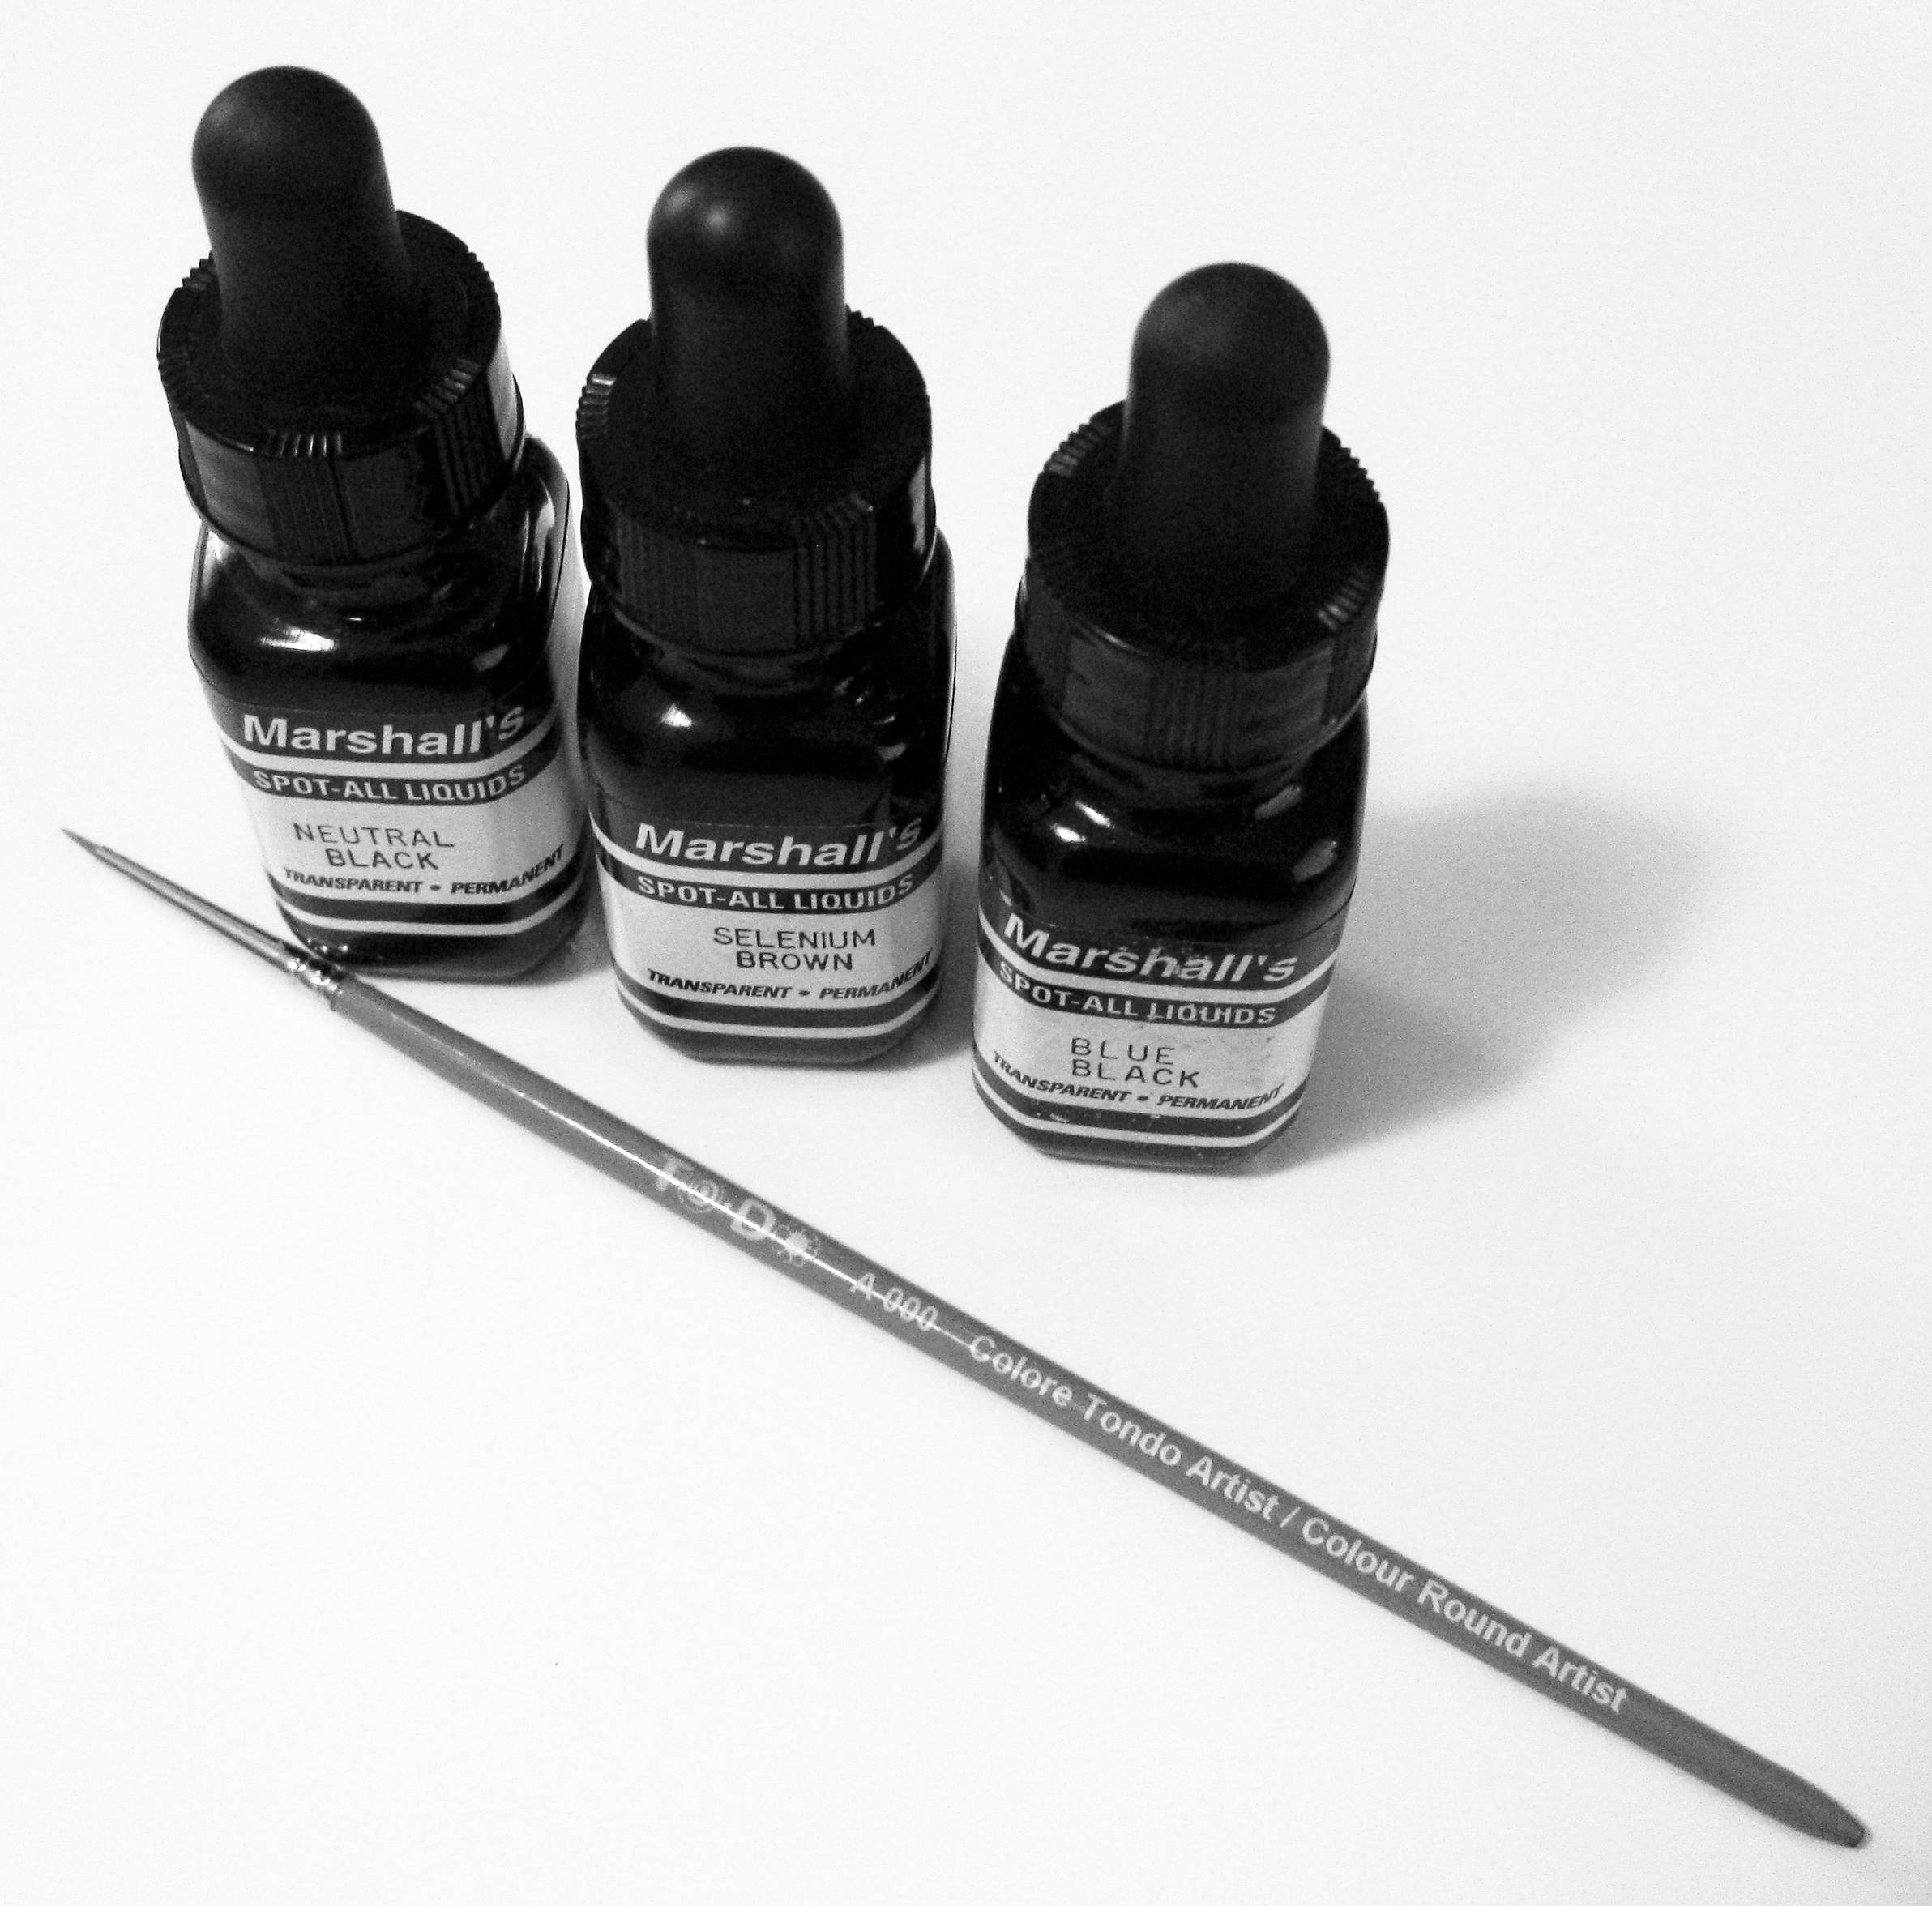
I use a good 000 paintbrush with a vial of black color, known as Marshall Spot-All. There are three different tones available: Neutral Black (the most used), Blue Black (for cool-tone paper) and Selenium Brown (for selenium tone prints). These colors penetrate into the emulsion.
Here are two prints on a 24×30cm sheets (from a 120mm negative film, photos taken with an Holga 120 GN)


Here you can see the white imperfections:

This is the result after some minutes of retouching:

Here another example (before and after):


You can make some test on the border of your photo sheet to have the right grey tone to retouch:

If your retouch is too dark, you can remove it washing the paper before the ink become dry, and after the time needed to dried the paper, you can repeat the process. Here another example:


Simple, quick, and with great “fine art” result!
written by sirio174 on 2012-05-18 #gear #tutorials #art #black-and-white #spot #tipster #decoration #print #prints #quick-tipster #quickie-tipster #requested-post #resin-coated #monocrhome-madness #retouch #spotting #rc-paper


2 Comments